Add a Yamaha Network Receiver to Home Assistant
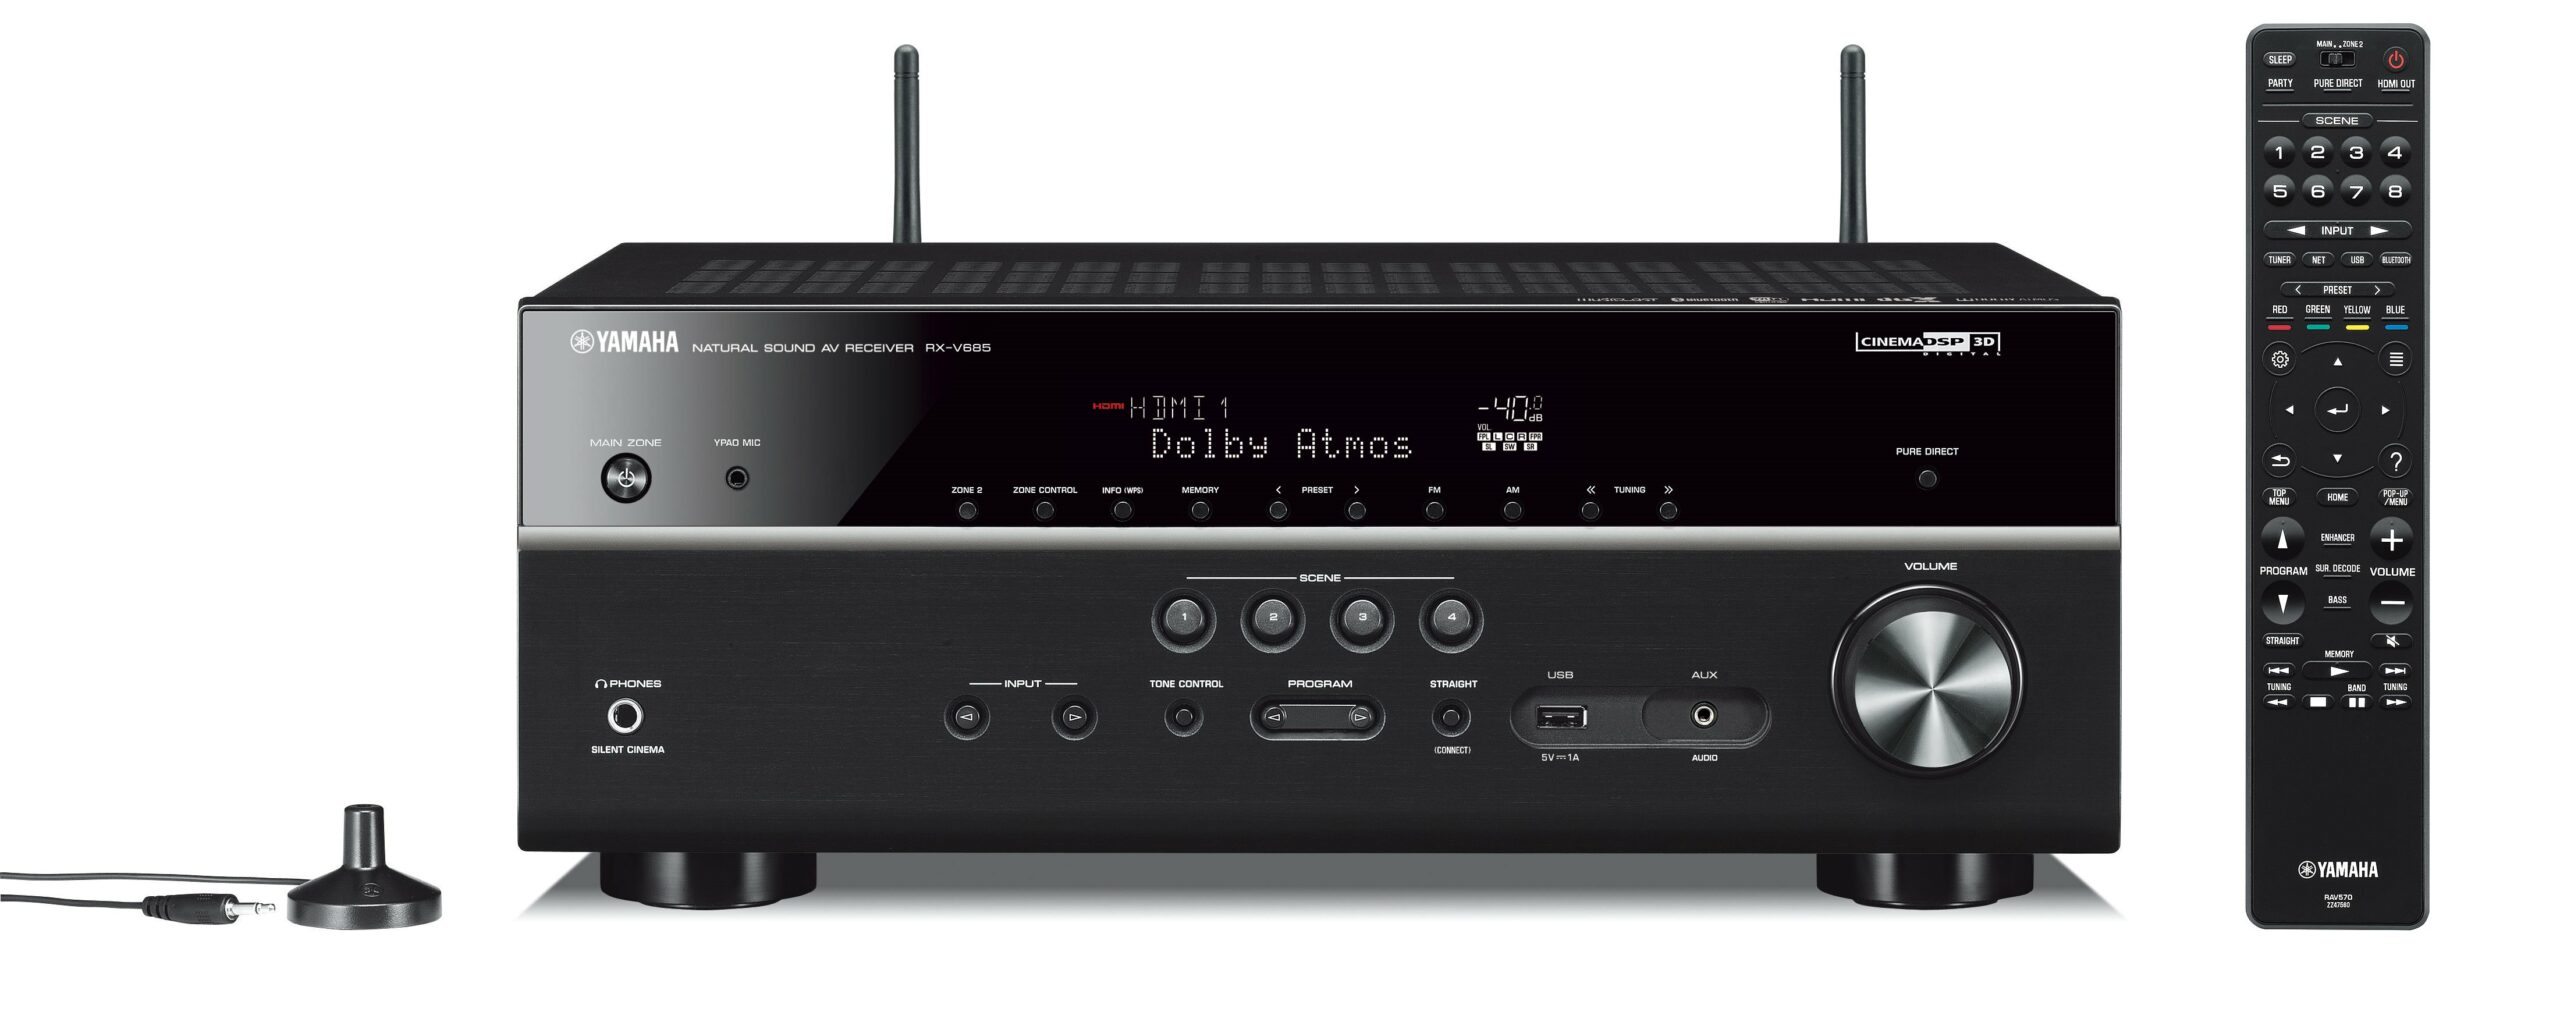
Find your Devices IP Address
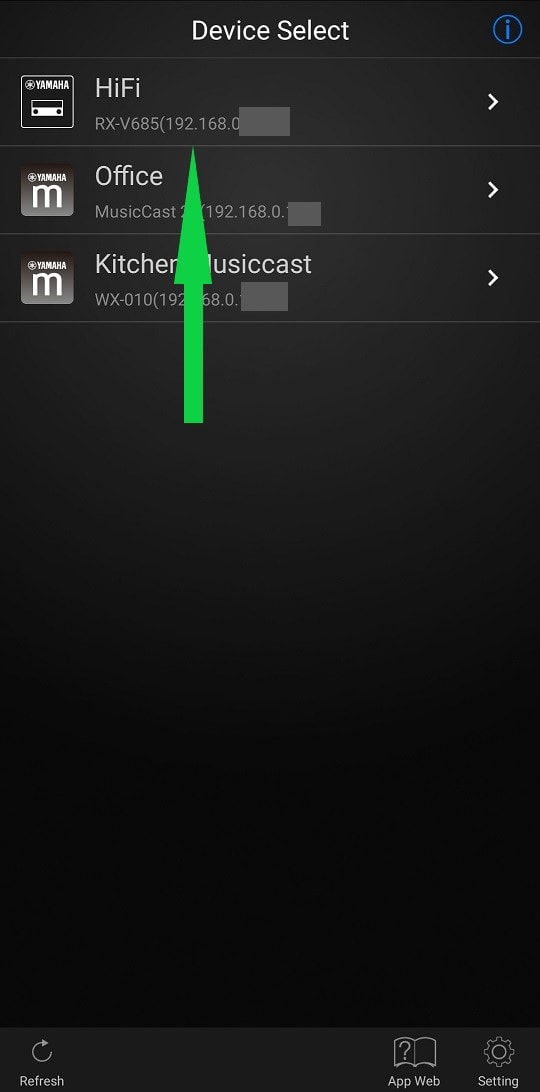
The easiest way to get your devices IP address is to simply look at the main/opening screen of the Yamaha AV Controller App on your smartphone. The IP address is noted beneath each device you have.
Add code to Config.yaml
Be sure to replace the IP address with the IP address you identified in step 1. You can change to name to whatever best suits your preference/need.
media_player:

  - platform: yamaha
    name: Yamaha Receiver
    host: 192.168.0.101
Now restart Home Assistant and the device will be ready to use for dashboards and automations.
If you would like help assigning a static IP address to the receiver please see our related post here. This is something we would recommend doing before adding yamaha media devices into automations/dashboards.
Keep reading
 Smart Home How To Fix Apple CarPlay In MG4 EV Apple CarPlay can be unreliable in the MG4 EV. Here is the specific Anker Lightning cable that fixed the connection.
 Smart Home Change Default Port Number in Home Assistant Change the port Home Assistant listens on by setting server_port under http: in config.yaml, then restarting.