As you begin to develop your Home Assistant instance for a range of different automation tools it is very likely you are going to need to edit files such as config.yaml. This is not the only yaml file you may need to edit but it is the most likely and common.
In order to do this you need to enable the ‘File Editor’ add-on.
Its a fairly simple install so lets get to it.
Log into your Home Assistant instance and go to Settings > Add-ons.

If you already see File Editor listed within the green box below. it is already installed. You just need to click into it and select to ‘show in sidebar’ – File editor will then show on the left main navigation bar. If the add-on does not show then click ‘Add-on Store’ (also shown below).

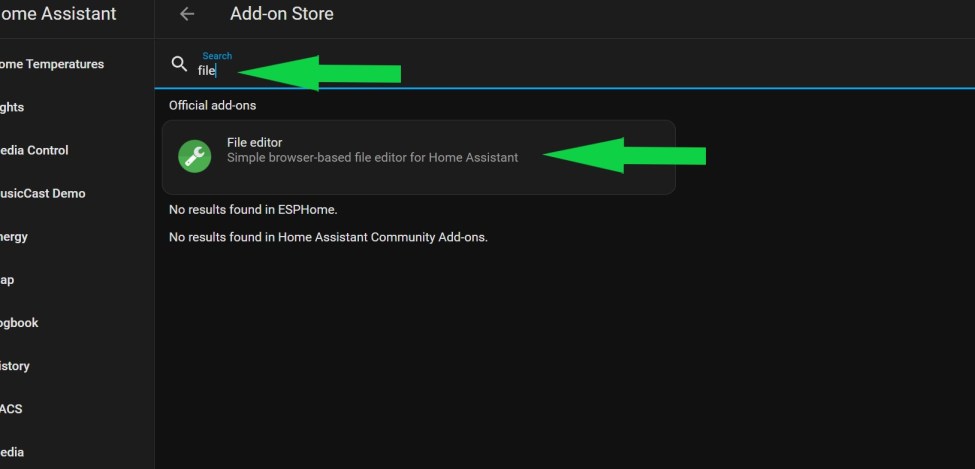
In this window you will see icons and names of all available Add-ons. To filter out File Editor type the word file into the search window.
Click into file Editor and click Install.

Once installed don’t forget to check the toggles as shown below. Show in sidebar is extremely useful to allow for easy access from the left navigation bar.

Once complete you will see ‘File Editor in the left navigation bar like below.

To access config.yaml click ‘File Editor’ and then click the folder icon at the top. followed by then selecting config.yaml from the list. As shown below.


You can now edit the config.yaml file.
Do not forget to click save when you have made your changes!
